Well, I can now say that I’ve even made my own underwire bra. And it was a whole lot easier than I expected.
First of all, I watched the entire “Construction and Fit” class by Beverly Johnson on Bluprint. It’s Pandemic Time, so all the classes there are free until April 16 and I am making very good use of that. I highly recommend that if you want to get into bra-making, you put aside the 3.5 hours to watch this full class FIRST, even if you have to pay for it.
Then, I ordered the Beautiful Brights Duo Pack ($24) from Bra-Makers Supply in Hamilton, Ontario. This is not, to my surprise, a pack that lets you make a duo of bras. It is a pack that lets you make a bra using Duoplex fabric, a low-stretch nylon that seems to be excellent for bra-making. It also includes some matching Powernet fabric, all the strap elastics you need, rings and adjusters, and the hook and eye sets. I had to separately order the Classic Bra Pattern ($20) and the underwires ($2.50). Shipping was about $20 as well. Yes, that means this first bra cost about $70. However, the pattern will last me forever. There was enough fabric to make another bra but I have to order another “findings” (elastic and hardware) kit ($17). I will re-use the underwires from this bra in the next one, as I don’t expect to wear this one (for reasons I will share below). My next bra will cost me only $17 after shipping. I’ll do another cost breakdown below as well, probably.

I traced out the pattern pieces that I need, so that the pattern original is preserved for future size changes, or should any of my local friends wish to make their own bras as well. Figuring out which pieces to trace from was a little bit daunting, as there are SO many size options to accommodate different cup sizes and band sizes. The upside is the ability to massively customize the fit of your bra before you even sew the first one together, and I think Beverly Johnson is an absolute genius for this.
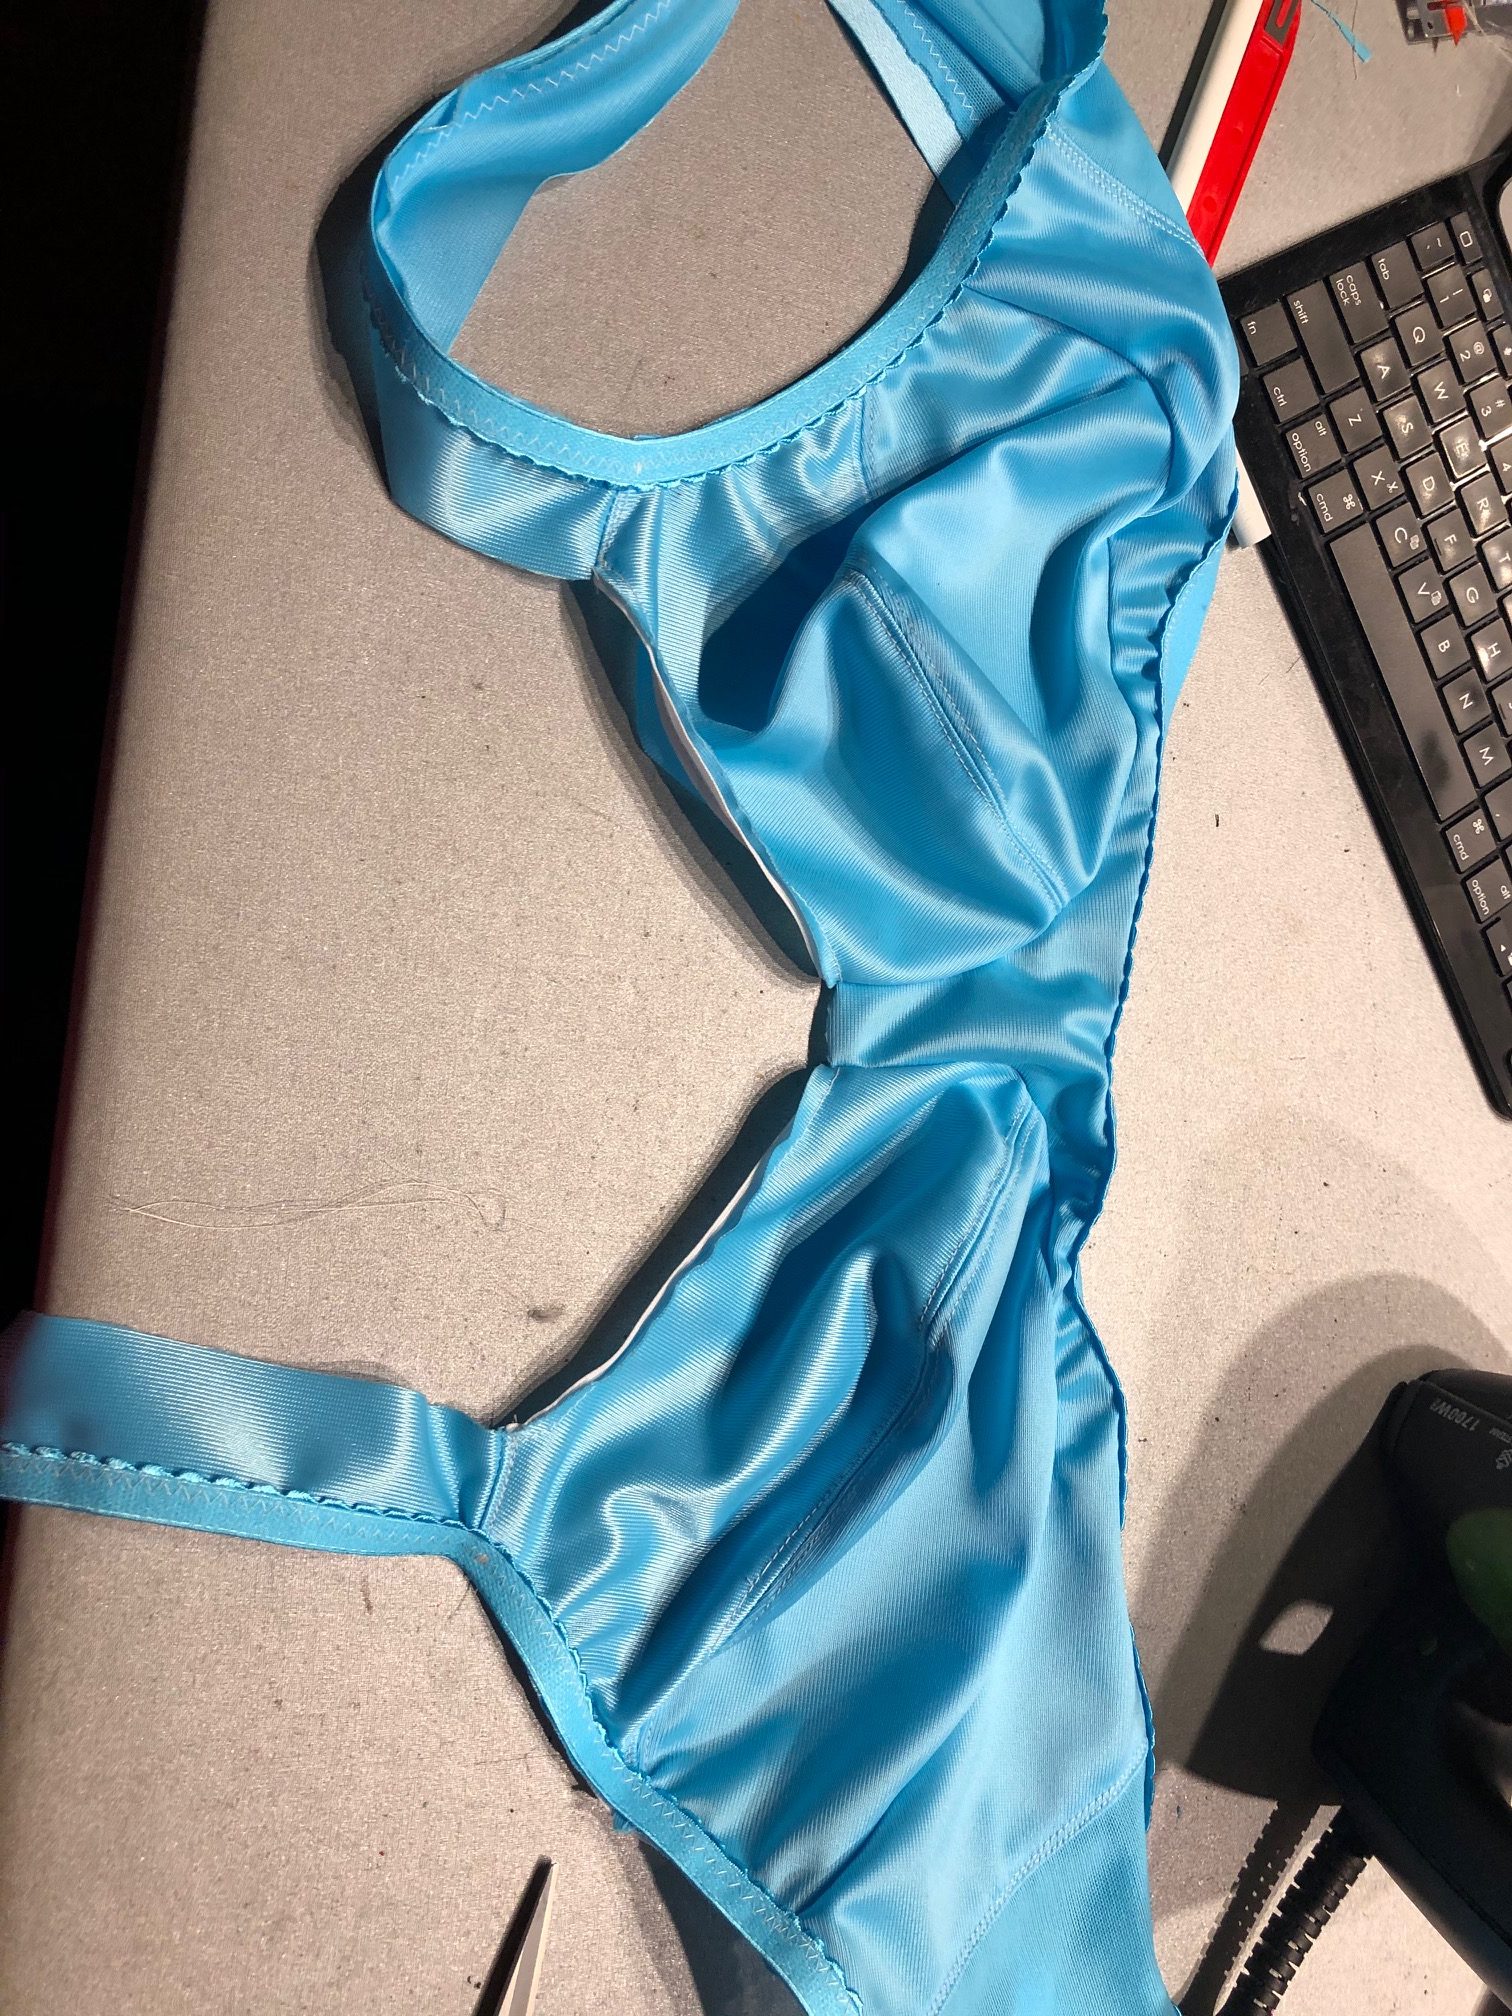
The style of this bra has a seam running diagonally from the armpit edge down across the apex (nipple!) to the bottom of the cleavage. There are suggestions for changing the cup seams in the pattern, in her class, and in her book (for sale on the Bra-Makers Supply website but a sewing friend has a copy that I borrowed). For larger size cups, the lower half is split into two pieces to allow for more shaping.
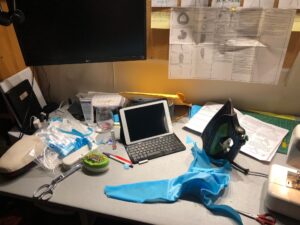
Construction of the bra itself went pretty smoothly since I already knew the steps from watching the class. I fumbled a few things, but in the class, Beverly points out that for your first bra you don’t want to stress too much about doing your best work because it’s a test garment. Bless her heart. I had elastic all over the place and it felt a little dodgy when I called it quits last night to finally go to bed. I think I worked on this about 2.5 hours last night and another 1.5 hours today though it’s hard to really say because I kept taking breaks to watch “Making the Cut” on Amazon Prime, ha ha ha. (BTW: if you have Prime, you should watch Making the Cut – it’s a good fashion show with a lot of emphasis on the design and construction, not so much on interpersonal drama, and the designers are pretty good!)
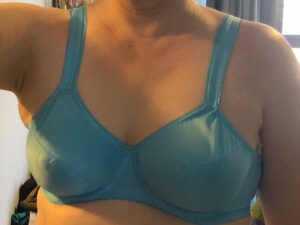
By the time I was finished and put in the underwires today, I felt pretty impressed by the whole set-up from the class to the pre-packed supplies and instructions. My first bra has one major fitting issue but otherwise seems pretty legit! The measurement approach (Bottom Cup Depth combined with band diameter) resulted in me getting a pretty perfect fit on this.
I plan to use the instructions from the class to move the straps outward by about 3/4″, as I have somewhat broad shoulders. I might also narrow the bridge by 1/4″ because it would seem my girls are fairly close-set. Once I’ve done those changes and improved my comfort with the pattern instructions a little bit, I should have a totally wearable bra. I can only salvage the wires from this one unfortunately… might be able to take off the hook and eye, but I would also need to get the elastic off to really do it over again and I just don’t want to spend that much time seam-ripping.
The next level will be adding lace, or experimenting with foam cup padding. I tend to wear mostly foam cup bras because that’s what I’ve been buying since I started wearing bras BUT now I know how a bra should actually fit and I think I am kind of a fan of fabric cups. I had only owned one previously – it’s a very expensive lacy bra & knickers set that I bought myself for my 40th birthday and had fitted properly at the “expensive” bra shop up on Fort Street. Who knew that nearly four years later I’d be making my own?
So, back to the cost breakdown… I’ve ordered more materials! I have enough fabric leftover from this kit to make a second cup and band, but will need more elastic. Here’s how I break it down:
- Findings Kit – $17
- Underwire – $2.50
- Cup and Band Fabric – $7 (take the on-sale bra kit set and subtract the findings)
- Pattern – $4 (assume I will use this pattern 5 times before I start branching out)
- Shipping – $7 (one package is $22 but that includes the pattern and I’ll use that many times, and I can order 2-3 bras worth of supplies in one package to be more efficient)
- Total Bra Cost: $37.50 – plus taxes of course.
Yes, that’s about what one pays for a brand-name bra in the department stores nowadays… a little more for a luxury brand. I wouldn’t call this luxury by any stretch of the imagination, but it FITS damn well. I can add lace to my bra for another $7-10 to make it look really schmancy.
So, can you save money by making your own bras? No, not really. But if you are – like so many other breast-having individuals out there – a non-standard sizing, you’re going to get something that fits you so much better than a department store bra.