I took a little hiatus from the tweed dress project because I was getting stressed out by the sleeves and all the other unknowns. But now that COVID-19 has descended upon the globe, suddenly a devilishly technical sewing project seems like an oasis of calm and predictability. I procrastinated for several weeks by playing video games while telling myself I was “gathering inspiration”, but really I was just stumped by how to finish the armholes.
When last we met, I had drafted cap sleeves and a lining, and they looked fantabulous pinned in place. I just didn’t know how to finish the seams – as you may know, sleeve seam allowances should be pressed towards the sleeve, but on a cap sleeve I didn’t know how to do that. For once I didn’t have another pattern with a cap sleeve in it that I could plunder for instructions. I had to figure it out myself.
Well, I didn’t do it myself. My pal Julie popped by and we stared at the dress together. She helped me pin the bodice on properly so I could check the fit – fortunately seems good. We tossed around a few options for how to do the sleeves, and then she went on her social-distancing way. IT WAS ESSENTIAL, I tell you.
In the end, I sewed the sleeve and bodice together with the lining kept separate, and then used the burrito method to sew the underarm lining and fashion fabric together. I slightly gathered the sleeve cap of the lining and set it into the bodice lining, and then did some futzing about with the seam allowances at the junction.

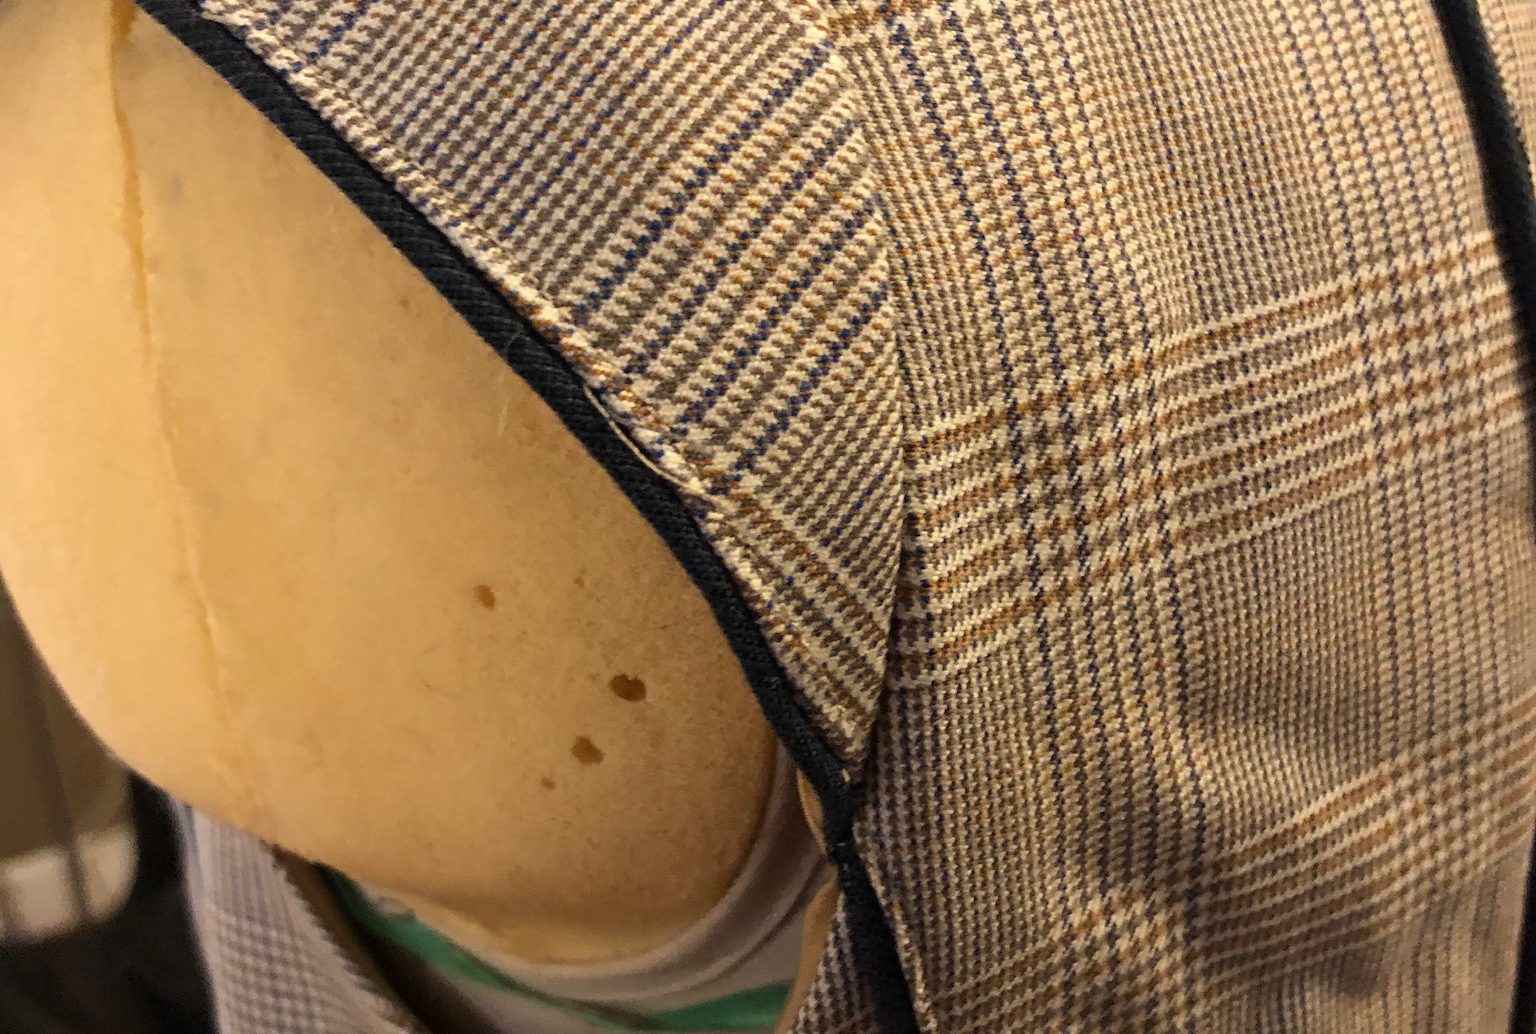
The cap sleeves attach at precisely where the princess seams on the bodice come out, so it looks like the piping continues from one to the other. Since it obviously doesn’t, that means there are seven layers of wool tweed and two cording ends in one tricky point: bodice side front, bodice middle front, double-layer from the piping, the cording of the piping on the bodice, the sleeve, double layer from the sleeve piping, and the cording from the piping on the sleeve. Then add in three layers of lining. Oh it’s a hot mess in there. I trimmed a bunch and did some hand-tacking to keep everything stuck together where I think it should be. The result is functional, if not elegant.
All that was yesterday.
Today, I hand-basted piping to the bottom of the bodice, remembering to keep the lining separate as per the instructions for this pattern (what are those? Do they exist? Oh yeah, they do!). Then, I hand-basted the back skirt side panels to the back centre panels and stitched them. I confess, some of this took place while I was listening to conference calls for work. Hand-basting requires eye-hand coordination but leaves my brain mostly free to process audio input.
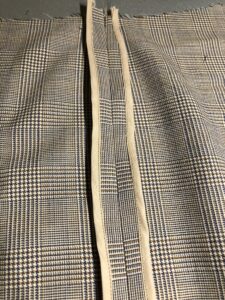
Then I found myself puzzled by how to finish the seam allowances on the skirt. The bodice and midriff seam allowances will be covered by lining so I can get away with leaving the raw edges (I strongly doubt this will be a Saanich Fair entry, though the pattern-matching should make people drool). For the skirt seams though, I need a finishing. I decided to do bound seam allowances because it looks more couture than serging them. But bound with what?
It turns out that I did not have any of the beige-coloured bias tape that I thought I remembered having. I must have de-stashed it at some point in my multiple moves over the last year. So, while worrying about breaking my social distancing, I walked down to the fabric store to get my exercise and fresh air. There, I fortunately found a perfect colour of cotton voile to go with my dress! Yay!
Making my own bias tape is not much harder than making my own piping. I use the same continuous-loop method. I cut the strips 1” wide because that is what Internet tutorials said to use for 1/4” finished seam binding. I found it quite tricky to make double-fold bias tape in such a narrow width, but it’s working.
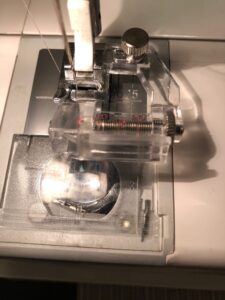
As part of the Madam Sews presser foot kit (no affiliate link or anything, just a pretty strong recommendation), I have an adjustable bias binding foot. After watching the tutorial on the DVD that comes with the presser foot set, this allowed me to attach the bias binding to my seam allowances in one line of careful, slow sewing. This is easier than doing a Hong Kong finish, and I think it looks nicer with no raw edge on the underside of the seam allowance.
All the details that are going into this dress mean that it’s taking me longer than I’ve spent on a garment in a very long time, but now that I am not in a rush to wear it anywhere (anything I’d wanted to go to has been cancelled), I can relax and enjoy the process! I feel relatively confident it will fit, and I am happy at how much I am learning.
That said, my next project is gonna be something damn easy.