I want to make a simple black t-shirt with a slightly interesting front neckline detail to wear under cardigans and jackets. Searching through my pattern catalogue, I found McCalls 6604 which (my pattern notes tell me) I made in May 2015 with a “brown wild pattern knit”. I have no recollection of this garment so I’m going to assume it didn’t make the grade to get worn. Red flag #1.
My notes also tell me that I made size 16 and it was a “quite generous fit in slinky knit”. I had to insert a “modesty panel” in the front, which tells me why I never wore it. Looking at the pattern reviews, I see the finished garment has a LOT of design ease, and that really isn’t what I want for this.
It’s Sunday morning and I’m in my pyjamas. I really don’t feel like going to the fabric store to search out another pattern while Halloween madness is going on there. So I’m going to retrace the pattern and remove a bunch of the design ease from the size 14 lines, and raise the neckline as well.
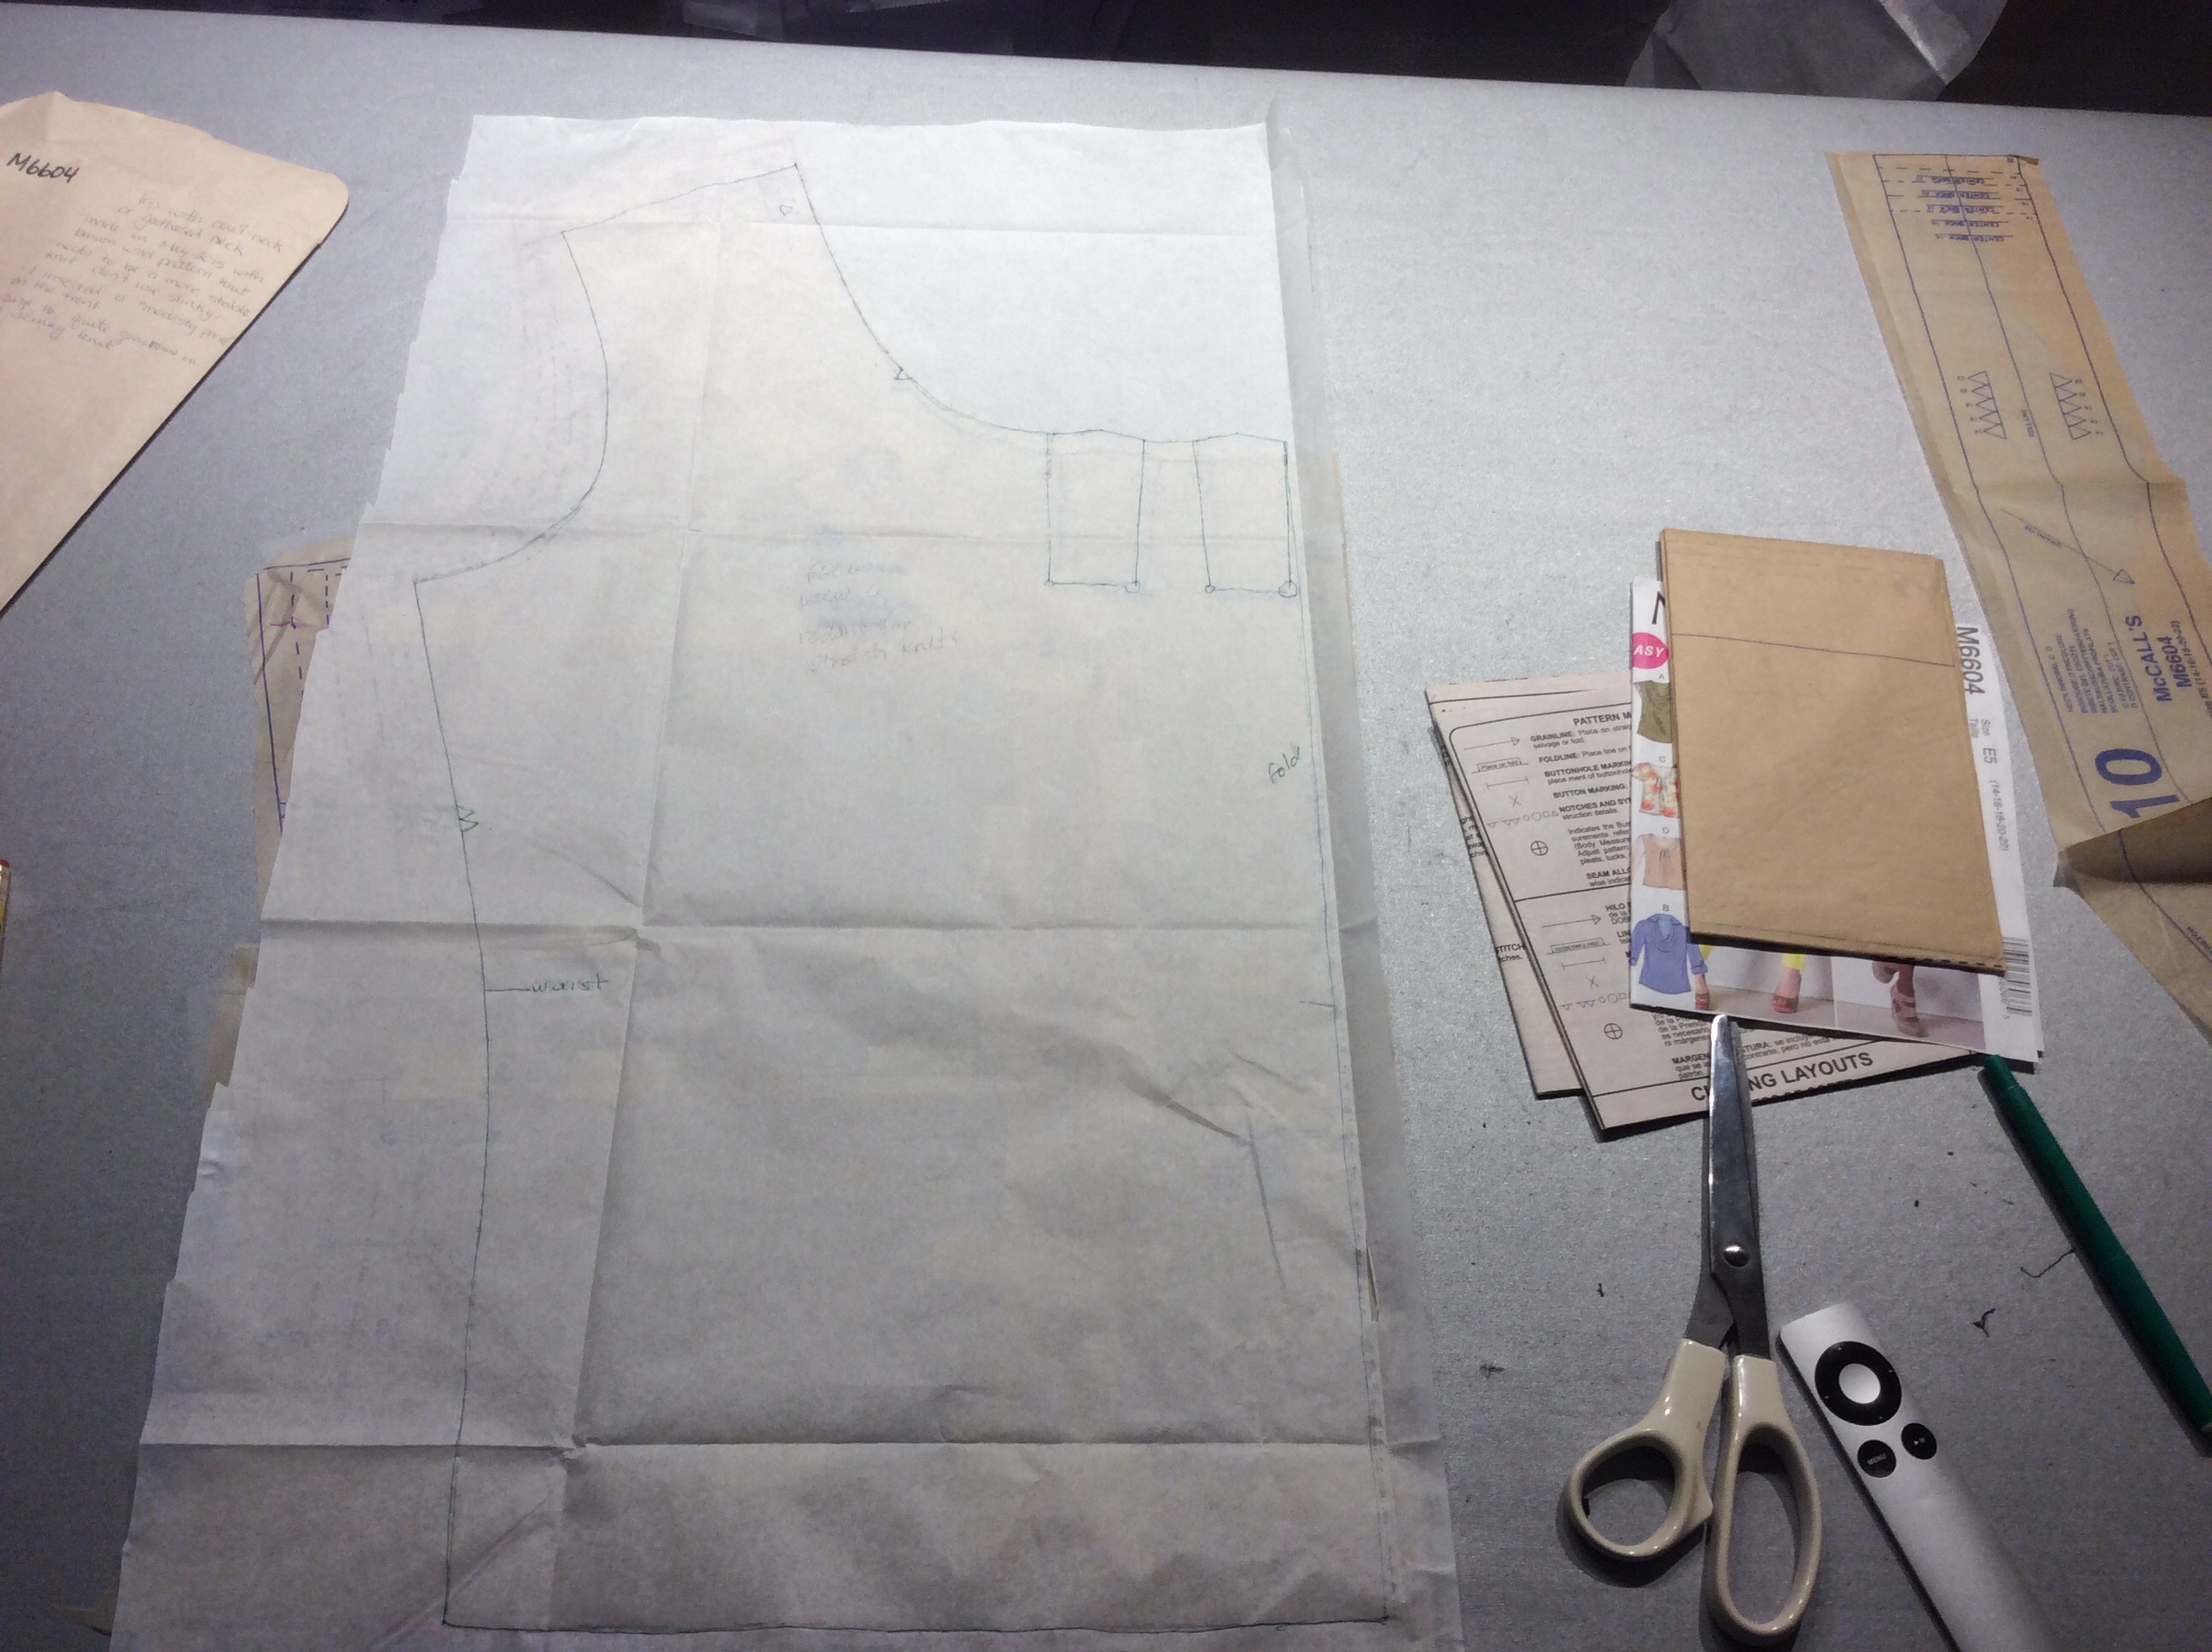
I’ve already done a full-bust adjustment on the original pattern piece, which I probably didn’t need. I had also lengthened the whole thing by about 1.5” which I probably did need. The finished garment measurements on the pattern say 40” bust for the size 14, which is about right if I’m making this in a stretch knit and want something form-fitting. The waistline finished measurement is 41” on the size 14 which is definitely the problem. I’ve taken the pattern down by 3/4” on the sides at the waist which will give me 1.5” off across the front, and I’ll remove a bit more from the back bodice.
After pinning the new front bodice to my dress form, I am actually pretty satisfied with the way I think it’ll drape. I don’t want to remove more from the back bodice. This looks good.
It doesn’t look like I’ve ever used the sleeve for this pattern (it isn’t cut out, though maybe I traced it off). The trick here will be that I’ve reduced the size of the armscye on the bodice but I need to keep the finished measurement of the sleeve opening because the size 16 is 14 1/4” and my bicep measures about 13 3/4” (exactly the finished size of the size 14). I’m going to trace and cut out the size 16 sleeve and hope that I can ease it into the armscye with patience. This pattern calls for a set-in sleeve but as I’m making it with a 4-way stretch knit, I think I will opt instead to sew the shoulder seam first and then do the sleeve and side seam in one piece. I haven’t tried this kind of technique change before and the sleeve cap is pretty shaped, so it’ll probably require careful basting before I sew it.

Neckline Choices:
The pattern calls for a bias self-binding at the neckline. I have enough fabric to do this, buuuut… if I cut a bias strip out of my remaining fabric, I won’t have a decent-size remnant to put back into my stash. I’ll have awkwardly-shaped scraps. I could make knickers out of them, but I’d rather leave my options open for something else. (Yes I still have to cut out the sleeve but that doesn’t cut right across a big block of fabric!)
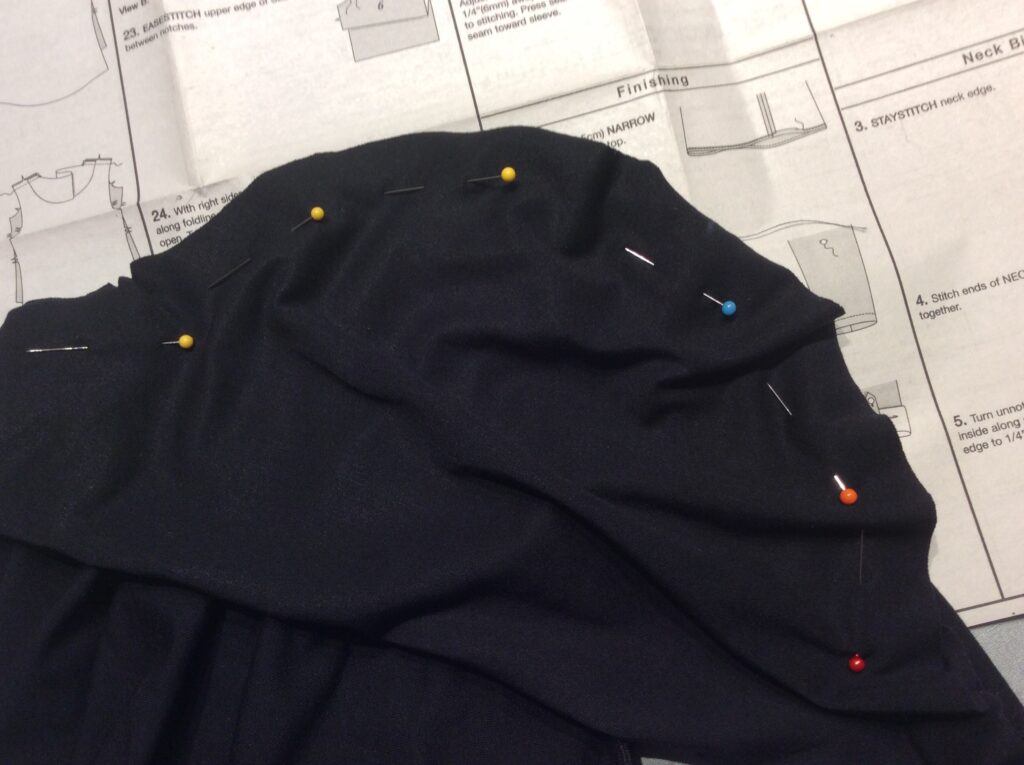
As an alternative, I have some black 5/8” fold-over elastic in my stash. This should work but the front neckline where the pleats fold under will make extra bulk to tuck into the fold-over elastic, which is pretty skinny.
Here’s what it looks like in a sample:
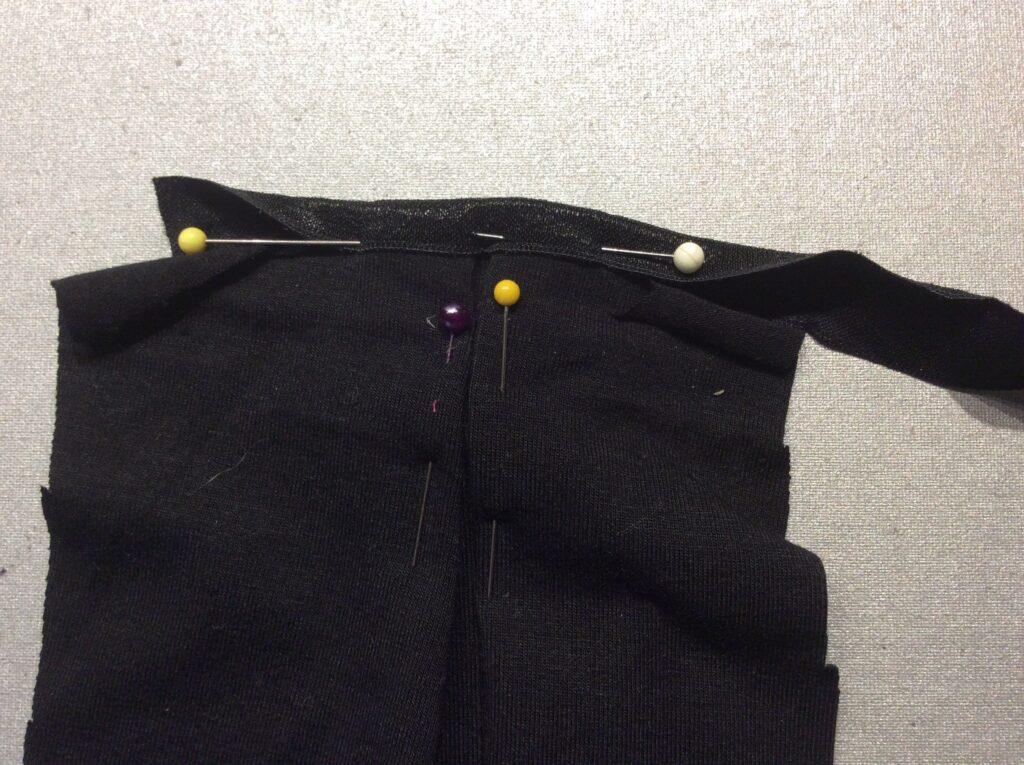
So, I think I am going to go with the fold-over elastic and just work really carefully.
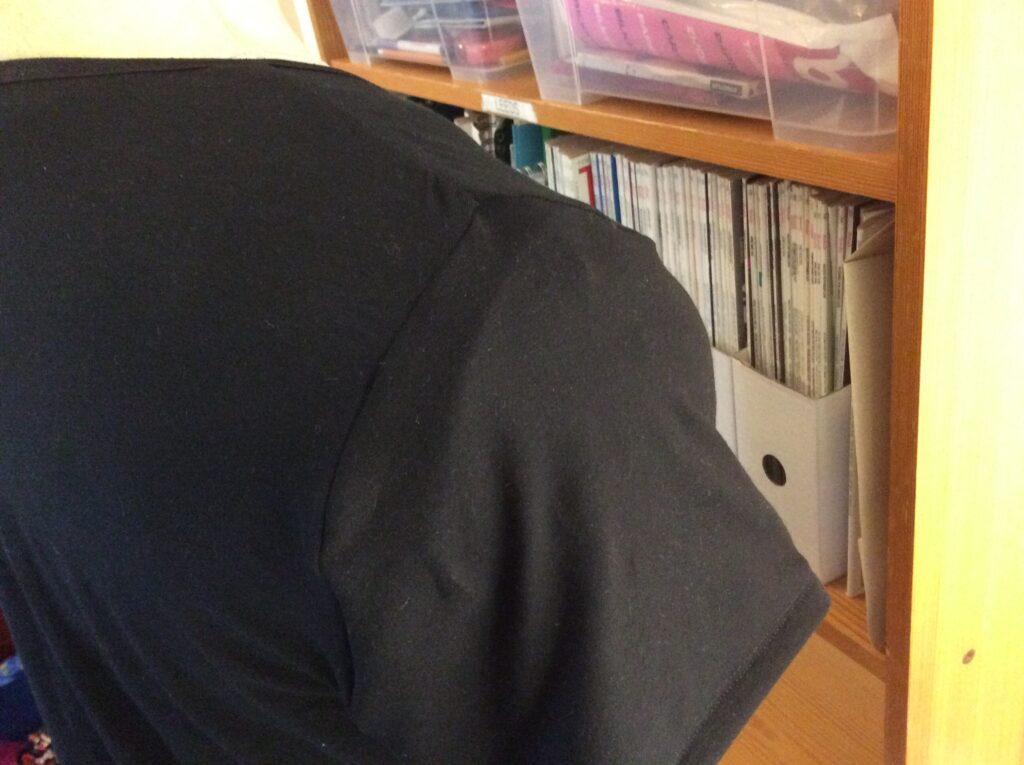
Neckline binding…
Not great, but not bad either.
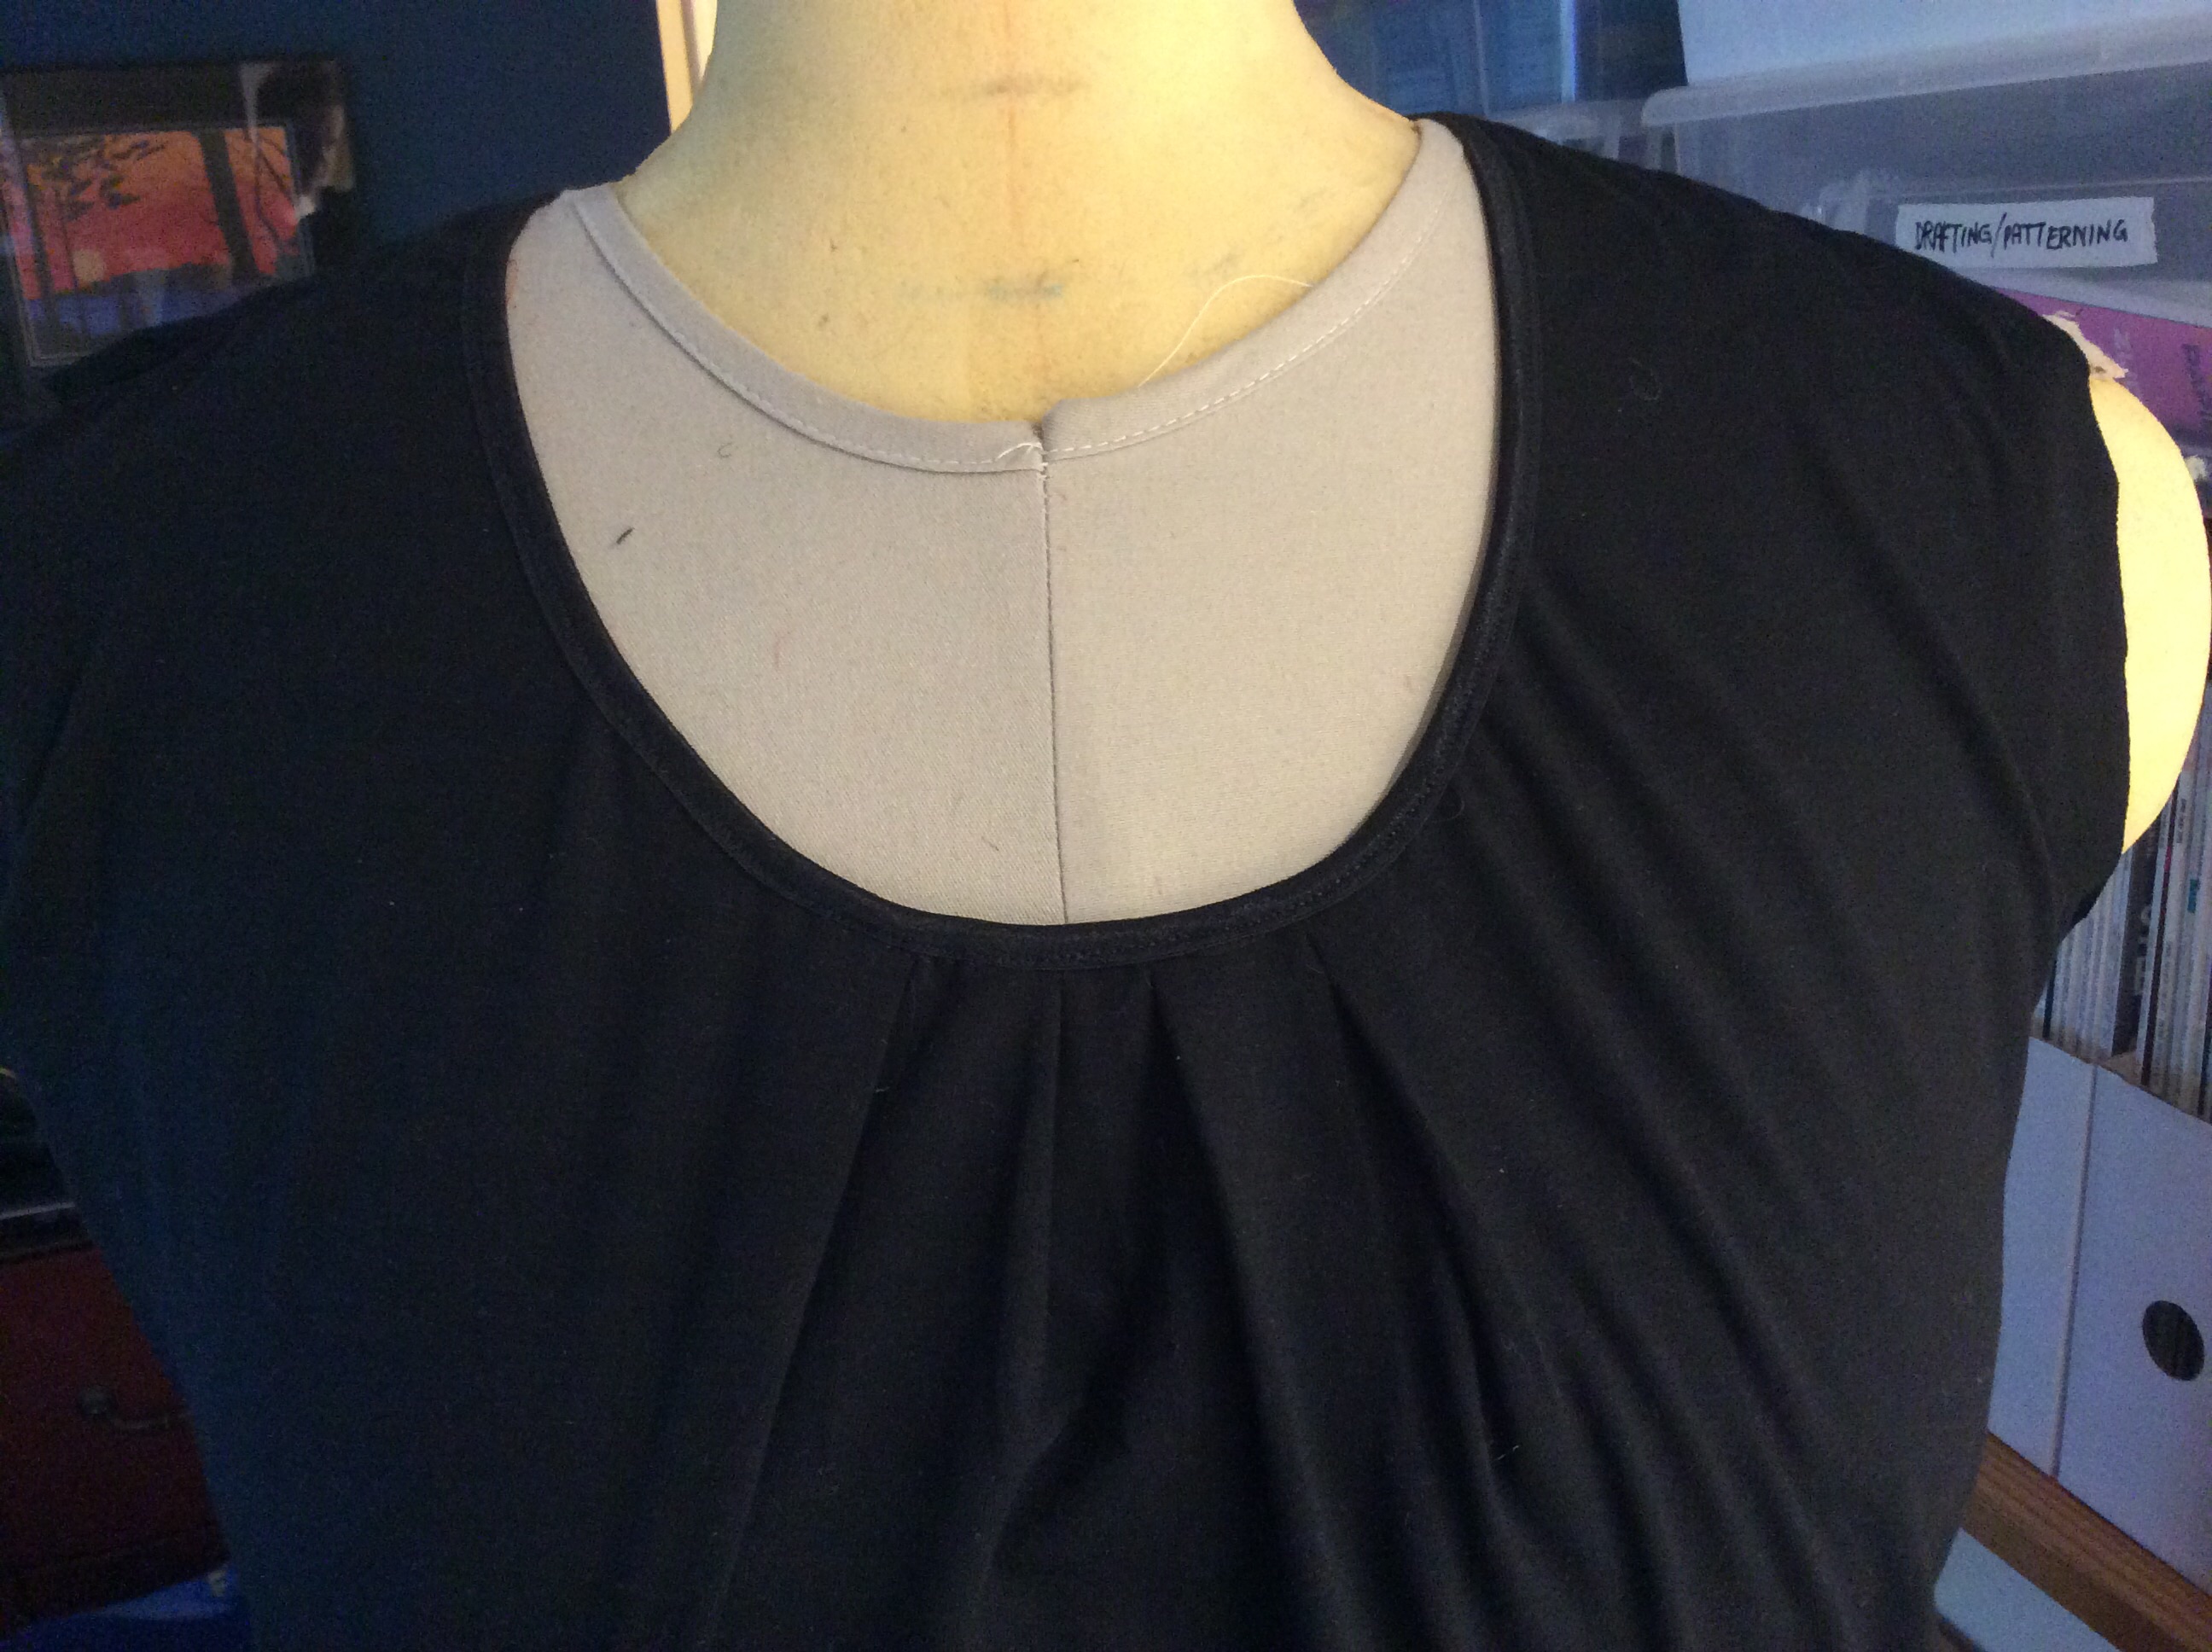
The elastic gathers the neckline ever so slightly, but I’m not completely disappointed with it. It’s a little more casual than a bias neckline binding but it’s just a base layer for an outfit.
Time for the sleeves…
Final Construction
Doing the side seams all in one was a good plan. I probably saved myself an hour or more by not doing set-in shoulders.
I used my favourite notion, KNit-N-Stable Tape (not seams-soft as previously reported on this blog; I got the name wrong but just checked it) to stabilize the arm and bottom hems. Then I pressed the hem up, pinned it, and sewed them on my coverstitch machine. I have almost mastered this machine now after what seems like a lot of cursing.
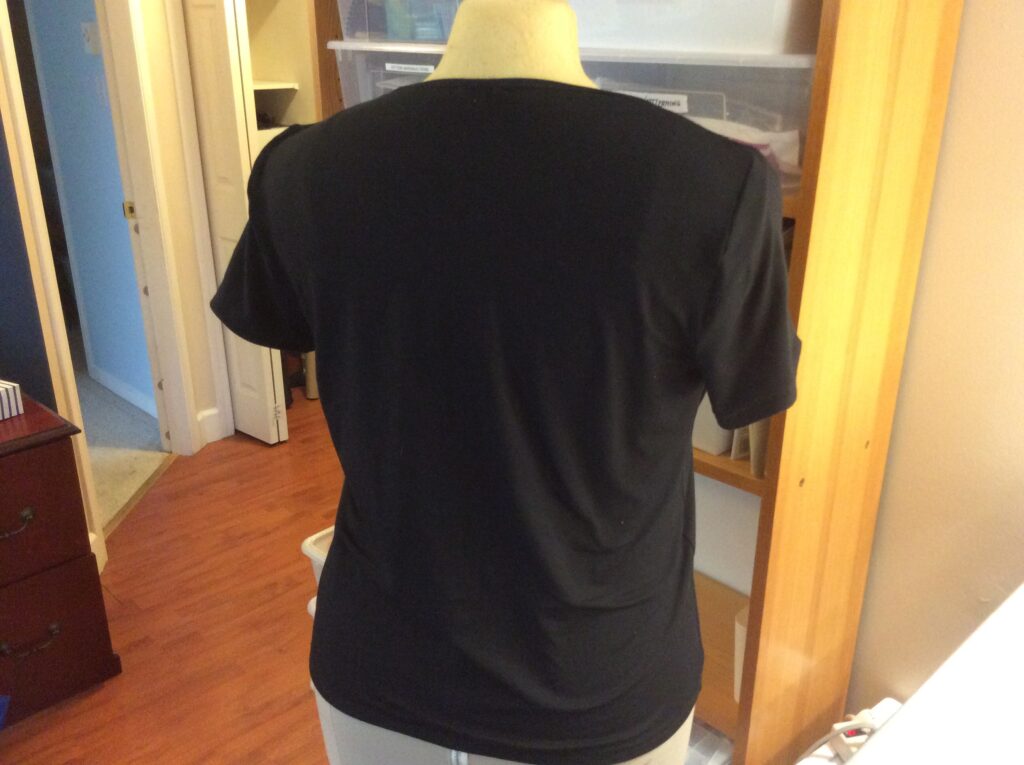
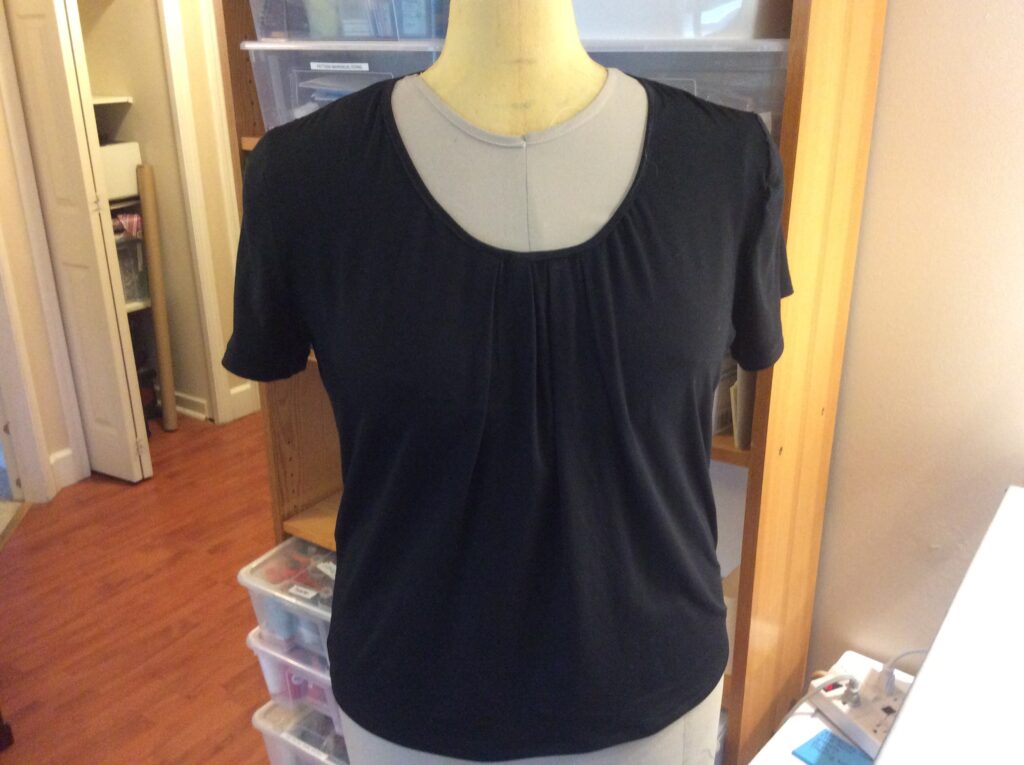
I’m glad I gave this pattern another try. With the redrafting of the front bodice, this works really well for a stretch knit. As I finished it, I got a horrid feeling that I hadn’t preshrunk this fabric so I might be making another one of these sooner than I’d like to. *headdesk* BUT at least I know it doesn’t take long to construct… just ALL THREE of my machines of course.